
So I am sure by now, it is an understood fact that I really like the holidays, in particular, those in the season of Autumn. Which is why I am sure it comes as no surprise that for a couple of years now I have tried to treat my family with some solstice/equinox gifts with the first day of each new season I make or buy something small to help kick off its celebration.
This year I got a random spark of inspiration on Pinterest and decided to make acorn jewelry.
Once I decided on my idea, I sat down and got to work researching what I would need. I have some experience in jewelry making. My great uncle and aunt are jewelers and they gave us a crash course on how to use jump rings, jewelry pliers, various findings, how to look for precious stone beads, etc. So I already had a leg up. I had all the tools, I just needed the right beads.
So I logged onto Michaels, Inc. online to see what I could go pick up.
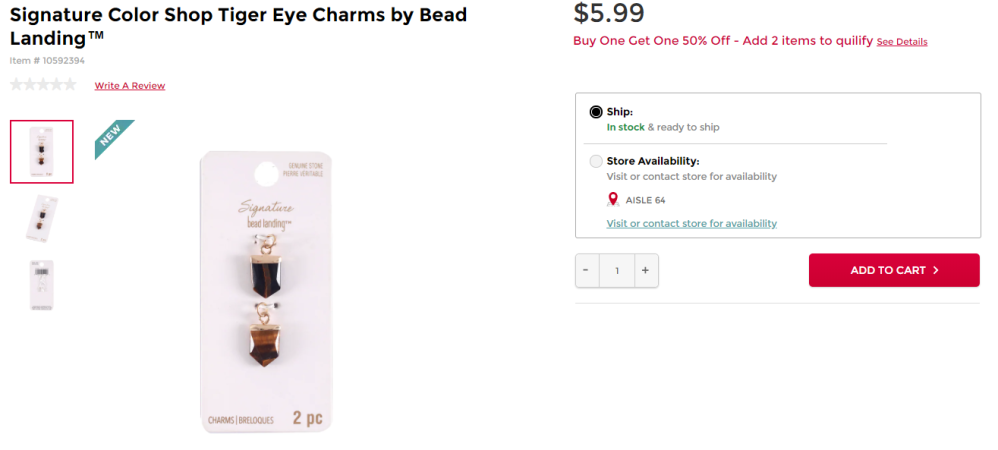
They even had these wicked modern options:

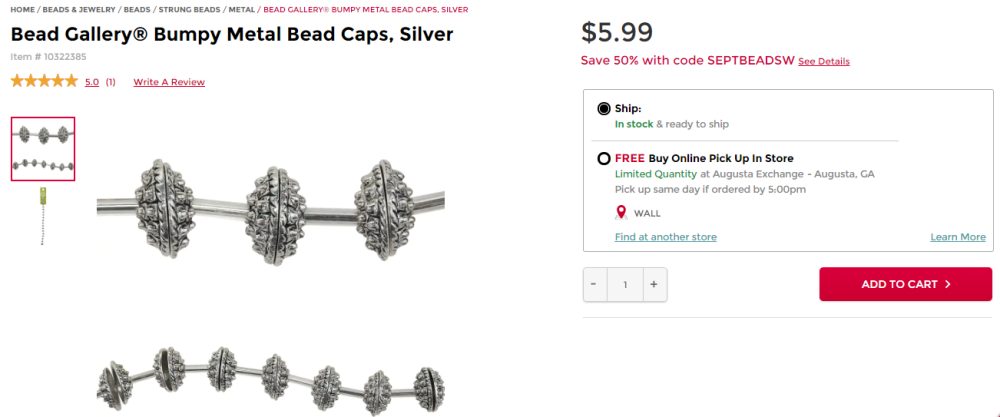
But, I ultimately decided to go with these silver beads because of the type of acorn shape I wanted to get and they would have the right touch of elegance but not crazy fancy to wear to work or just out.
Materials:
- 4m beads of your choice
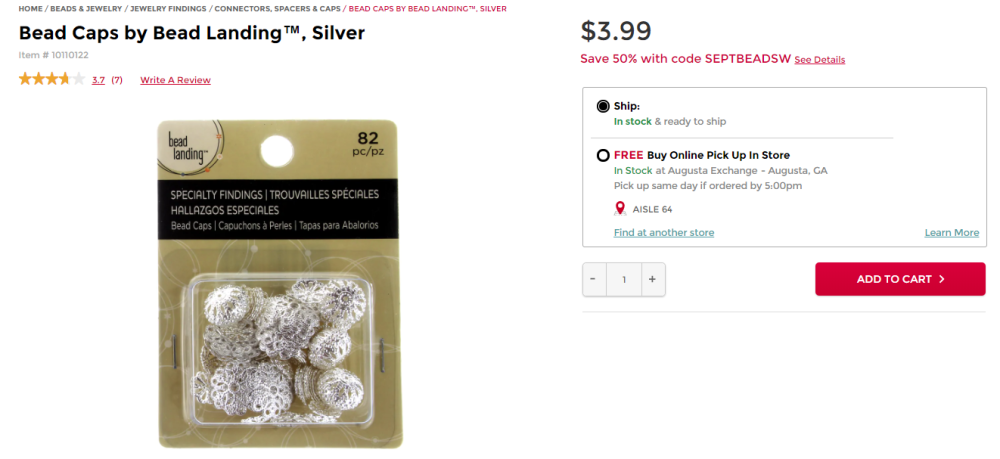
- silver bead caps
- headpins
- fish hook earrings

Tools:
- Dremel
- Fine Conical Tip Sander for Dremel
- Small Jewelry Pliers
Process:
In order to create the acorn caps for my earings I had a few options, I could line the beads directly up against one another, I could dent the silver bead caps, or I could remove part of the silver bead cap to have it cover my beads.

- The beads I choose for the caps before we shave the ends.
Ultimately I decided I wanted a continuous organic look like an acorn and decided to remove part of the bead cap so that the acorn would sit in its cap.
In order to do so, I took my Dremel and shaved away at the connection points of the bead cap using the fine conical sanding tip. Making very fine almost wire-like connections between the main cage of the bead cap and one of its circular tops.
It is important to be very careful when doing this step to hold the bead cap firmly but not crush the bead cap. As you create thinner connections the integrity of the cage shape is diminished and it becomes much easier to crush the bead cap. I held mine like the picture above.
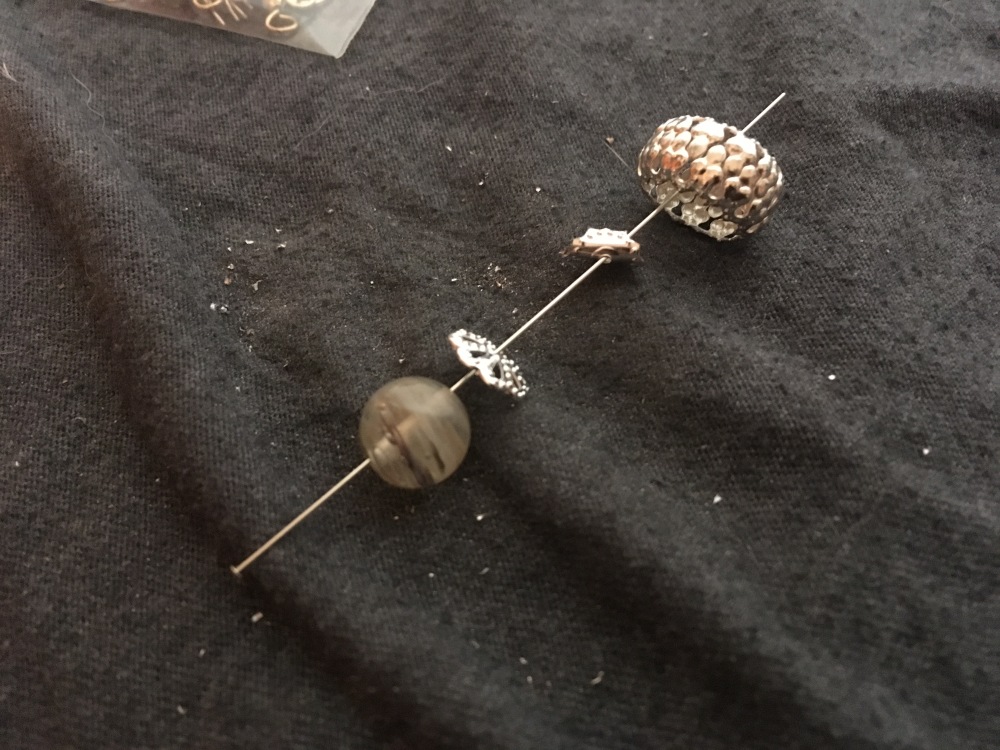
You will know you have made them fine enough when they look like the middle bead cap in the image shown below.
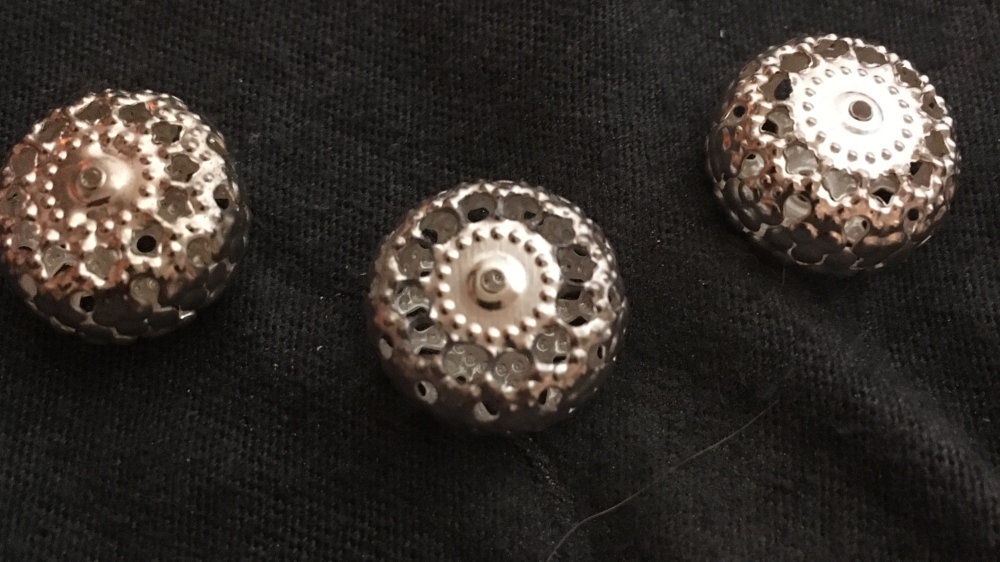

Once they are that thin I took my needle nose jewelry pliers and pinched the thing connections and snapped them with a small twist. They broke apart very easily, leaving the bead cap bowl shape and small circles.
As you can see once I remove inside the circle from the beads my 4mm beads were too small to still be seen and they dropped too far into my “acorn caps”.
To keep the beads in the right spot for them to look like acorns I needed to lift them out of the bowl the new “acorn caps” made. I didn’t really want to add another bead, more glass = more weight.


I decided to use the leftover pieces from making the bead caps. When I curled them with my pliers they took up more space and were able to push the bead out. In the pictures above I show you how to curl them and what they should look like before and after.
Ultimately, they weren’t quite big enough by themselves, the bead still rattled in the cap a little and sunk more than I liked. There were some other bead caps in the bag that I had purchased that were also slightly curved. When I strung them on the headpin together they worked in tandem to push the bead out of the “acorn caps” just enough!
Once I had all the caps and beads done, you string them all on the headpins tight. You secure them in place by placing the pliers just above the “acorn caps” and the bead secured all the way to the bottom of the headpin.
You then curl the headpin around the needle-nose pliers with your fingers and then wrap the wire underneath your loop a few times to secure it in place.
They should look like the picture to the right.
Now that you have your finalized acorns you can attach them to any earring hooks, loops, twists, or necklaces you’d like.
Ultimately I made sets of the earnings for each of us and small necklaces with the larger beads. They came out better than I could have expected and I LOVE wearing them to work. Overall they were visually very light and really comfortable to wear. BEST PART when someone compliments them you can say – Thank you! I made them MYSELF! It is honestly always the best feeling ever.


For the larger beads that I made necklaces I ‘cut’ the same silver bead in half by twisting out the teeth that were interlocked in the middle of the bead. and slide it right up to the back.
Each of the teeth popped apart very easily and I just had to turn it back towards the center if it went too far and no longer came in where the glass bead meets the silver bead.
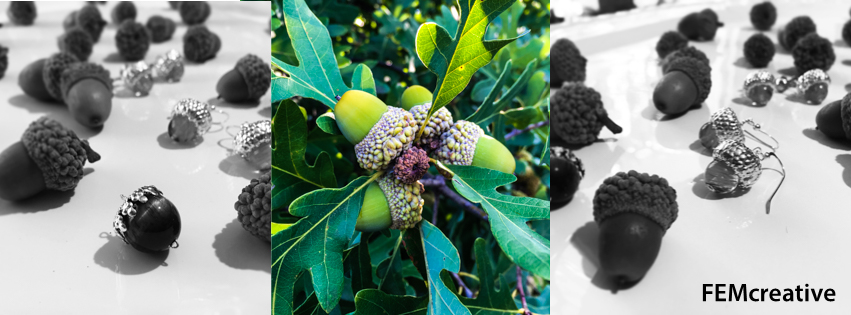
Couldn’t resist a photo with the inspiration!!! Oak acorns and some of the jewelry I made.
What are your traditions? Is there anything that has inspired you lately that you want to create your own version of?
